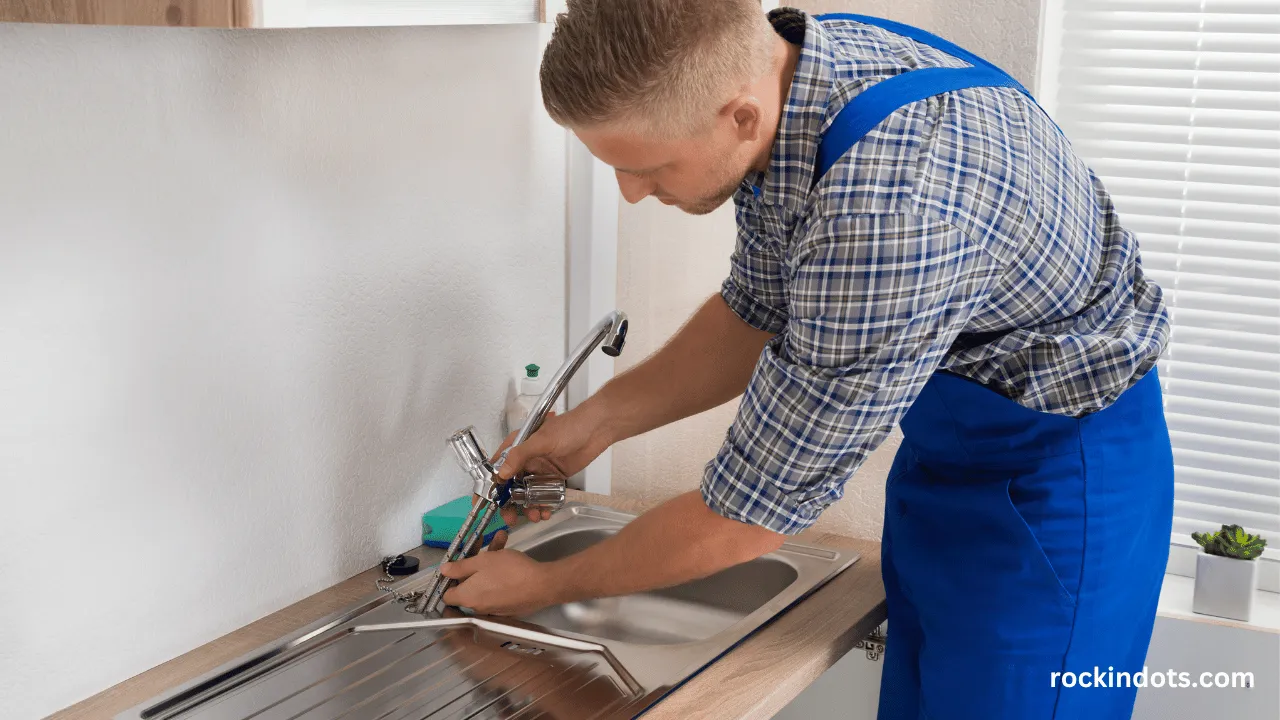
Hello there! If you’re dealing with a pesky leak under your kitchen sink, don’t worry – I’m here to help you fix it.
A leak can be an annoying problem, but with a few simple steps, you can tackle it on your own. In this guide, I’ll walk you through troubleshooting a kitchen sink leak and provide the necessary tools and materials to complete the job.
Before we dive into the details, let’s quickly understand the importance of identifying the leak’s location.
Look under your kitchen sink closely and check for any standing water or dampness. This will help you determine the type of leak and guide you in choosing the right repair approach.
Contents
- 1 Tools and Materials You’ll Need to Fix a Kitchen Sink Leak
- 2 How to Fix Faucet, Drain Seal, and Drain Leaks
- 3 Common Questions and Tips for Kitchen Sink Leak Repair
- 3.1 How often should I check for leaks?
- 3.2 What are the signs of a leak?
- 3.3 Can I use household items for temporary fixes?
- 3.4 When should I replace parts instead of tightening them?
- 3.5 Do I need to turn off the water supply during repairs?
- 3.6 How can I stop my kitchen sink from leaking in the future?
- 4 Conclusion
- 5 FAQ
- 5.1 How often should I check for kitchen sink leaks?
- 5.2 What are the signs of a kitchen sink leak?
- 5.3 Can I use household items for a temporary fix for a kitchen sink leak?
- 5.4 When should I replace parts instead of tightening them?
- 5.5 Do I need to turn off the water supply when repairing a kitchen sink leak?
- 6 Source Links
Key Takeaways:
- Assess the situation by looking for standing water or dampness under the kitchen sink.
- Identify the type of leak to choose the appropriate repair steps.
- Gather the necessary tools and materials before starting the repair.
- Different types of leaks (faucet, drain seal, drainpipe) may require specific repair techniques.
- Regular maintenance and inspections can help prevent kitchen sink leaks.
Tools and Materials You’ll Need to Fix a Kitchen Sink Leak
Before you can fix a leaky kitchen sink, gathering all the necessary tools and materials is essential. Having everything ready will ensure a smooth and efficient repair process. Here are the important items you’ll need:
Tools:
- Adjustable wrench
- Pliers
- Screwdriver
- Plumber’s tape
Materials:
- Replacement seals and O-rings
- Rubber gaskets
- Adhesive or epoxy
- Pipe thread sealant
These tools and materials will help you tackle various components of a kitchen sink leak. From tightening loose connections to replacing worn-out seals, having the right supplies is crucial for a successful repair.
Remember, double-checking the manufacturer’s instructions for specific tools and materials needed for your sink model is always a good idea. Additionally, consider using gloves and safety goggles to protect yourself during the repair process.
How to Fix Faucet, Drain Seal, and Drain Leaks
When fixing leaks under your kitchen sink, addressing each type of leak adequately is essential. Depending on whether the leak is from your faucet, drain seal or drainpipe, there are specific steps you can follow to resolve the issue.
Faucet Leak
If you notice water dripping from your faucet, you likely have a faucet leak. In this case, replacing the faucet may be necessary. Here’s a step-by-step guide to resolve a faucet leak:
- Turn off the water supply to the faucet.
- Use a wrench to remove the faucet handle.
- Next, unscrew the bonnet nut and remove the cartridge or valve assembly.
- Inspect the cartridge or valve assembly for any signs of damage.
- If the cartridge or valve assembly is damaged, replace it with a new one.
- Reassemble the faucet by following the reverse order of the disassembly steps.
- Turn on the water supply and check for any leaks. If the leak persists, you may need to consult a professional plumber.
Drain Seal Leak
A drain seal leak is often indicated by water leaking or pooling around the drain. To fix this type of leak, follow these steps:
- Remove the drain cover or stopper.
- Inspect the drain seal for any signs of wear or damage.
- If the seal is damaged, carefully remove the old seal.
- Apply a small adhesive on the drain surface, ensuring complete coverage.
- Press a new drain seal on the adhesive firmly to create a seal.
- Allow the adhesive to dry completely before using the sink.
Drain Leak
A drain leak can occur if the nut connecting the drainpipe becomes loose or the drainpipe is damaged. Here’s what you can do to fix a drain leak:
“If tightening the nut resolves the leak, no further action is needed. However, if the leak persists, it’s important to inspect the drainpipe for any signs of damage. In some cases, you may need to replace the drainpipe to resolve the leak.”
Remember, if you’re unsure about how to fix a particular type of leak or if the issue persists after attempting repairs, it’s best to seek the assistance of a professional plumber.

*Note: The image above represents a drain leak, which may require further inspection and repairs beyond simple nut tightening.*
In the next section, we will address common questions and provide additional kitchen sink leak repair tips.
Common Questions and Tips for Kitchen Sink Leak Repair
Are you dealing with a kitchen sink leak? Don’t fret! I’m here to answer some common questions and provide helpful tips to get your sink back in working order.
How often should I check for leaks?
Inspecting your kitchen sink regularly for any signs of leaks is a good idea. I recommend checking at least once a month to catch any potential issues before they worsen. Look for dampness, puddles, or unusual odors around the sink area.
What are the signs of a leak?
There are a few telltale signs that indicate a kitchen sink leak. Look out for dripping or running water when the faucet is off, water pooling under the sink, damp or discolored cabinets, or a noticeable decrease in water pressure. If you notice any of these signs, it’s time to troubleshoot and fix the leak.
Can I use household items for temporary fixes?
Sometimes, you can use household items as temporary fixes for minor kitchen sink leaks. For example, if you have a small crack in a pipe, you can use epoxy putty to seal it temporarily until you can replace the affected part. However, remember that these temporary fixes are not long-term solutions, and you should still address the underlying issue as soon as possible.
When should I replace parts instead of tightening them?
Tightening loose connections can often solve minor leaks, but there are instances where you’ll need to replace the faulty parts. If you notice significant wear and tear, corrosion, or cracks in any of the components, replacing them rather than relying on constant tightening is best. This will ensure a more permanent fix and prevent future leaks.
Do I need to turn off the water supply during repairs?
Yes, tutoring supplies before repairing your kitchen sink is crucial. This will prevent further water damage and make it safer to work on the plumbing system. Locate the shut-off valves under the sink or at the main water supply and close them before beginning your repair process.
How can I stop my kitchen sink from leaking in the future?
The best way to prevent kitchen sink leaks is through regular maintenance. Here are a few tips:
- Check the sink and plumbing connections regularly for any wear or damage.
- Keep the area under the sink clean and dry to avoid moisture buildup.
- Avoid over-tightening connections, as this can lead to damage or leaks.
- Consider using a plumber’s tape or pipe thread sealant when installing or reassembling plumbing components.
- Be mindful of what goes down the drain and avoid disposing of grease, large food scraps, or non-biodegradable materials.
| Common Causes of Kitchen Sink Leaks | Possible Solutions |
|---|---|
| Loose or worn-out connections | Tighten or replace the affected parts |
| Cracked or damaged pipes | Replace the damaged sections |
| Leaky faucet | Repair or replace the faucet |
| Failed drain seal | Remove and replace the seal |
| Improper installation | Reinstall the components properly or seek professional assistance |
Remember, it’s always wise to call a professional plumber if you’re unsure about tackling a kitchen sink leak or if the problem persists after your DIY efforts. They have the expertise to diagnose and fix more complex issues, ensuring your kitchen sink stays leak-free for years.

Conclusion
Fixing a leak under your kitchen sink can save you time and money. With the right tools, materials, and knowledge, many kitchen sink leaks can be repaired with a simple DIY approach.
Following the troubleshooting steps outlined in this guide, you can quickly fix common issues like faucets, drain seals, and drain leaks.
However, it is essential to note that if the leak persists or the situation becomes more complex, it is best to call a professional plumber for assistance. They have the expertise and experience to handle challenging repairs and ensure long-lasting solutions.
To prevent future leaks, it is essential to take preventive measures. Regularly inspect your kitchen sink for any signs of leaks or damage, such as standing water, dampness, or unusual odors. Addressing any issues promptly can help you avoid costly repairs in the future.
Remember, by taking a proactive approach and being equipped with the necessary knowledge, you can confidently tackle DIY fixes for kitchen sink leaks. However, don’t hesitate to seek professional help to ensure the integrity and functionality of your kitchen plumbing system.
FAQ
How often should I check for kitchen sink leaks?
It is a good practice to inspect your kitchen sink regularly, ideally once every few months. This can help you identify potential leaks early on and prevent jor damage.
What are the signs of a kitchen sink leak?
Signs of a kitchen sink leak may include water pooling under the sink, dampness or moisture around the sink cabinet, decreased water pressure, or unusual odors. You may also notice discoloration or water stains on the floor or cabinets.
Can I use household items for a temporary fix for a kitchen sink leak?
While it may be tempting to use household items like duct tape or plumber’s putty for a temporary fix, it is not recommended. These solutions may not be effective in stopping the leak and can cause further damage. It is best to follow proper repair methods or seek professional help.
When should I replace parts instead of tightening them?
If you notice that tightening the nuts or connections does not stop the leak or if the parts are worn or damaged, it is advisable to replace them. Drawing may only provide a temporary solution, and replacing the faulty parts will ensure a more permanent fix.
Do I need to turn off the water supply when repairing a kitchen sink leak?
Yes, turning off the water supply before starting any repair work is essential. This will prevent any accidents or further leaks during the process. Locate the shut-off valve under your sink or turn off the main water supply if necessary.

