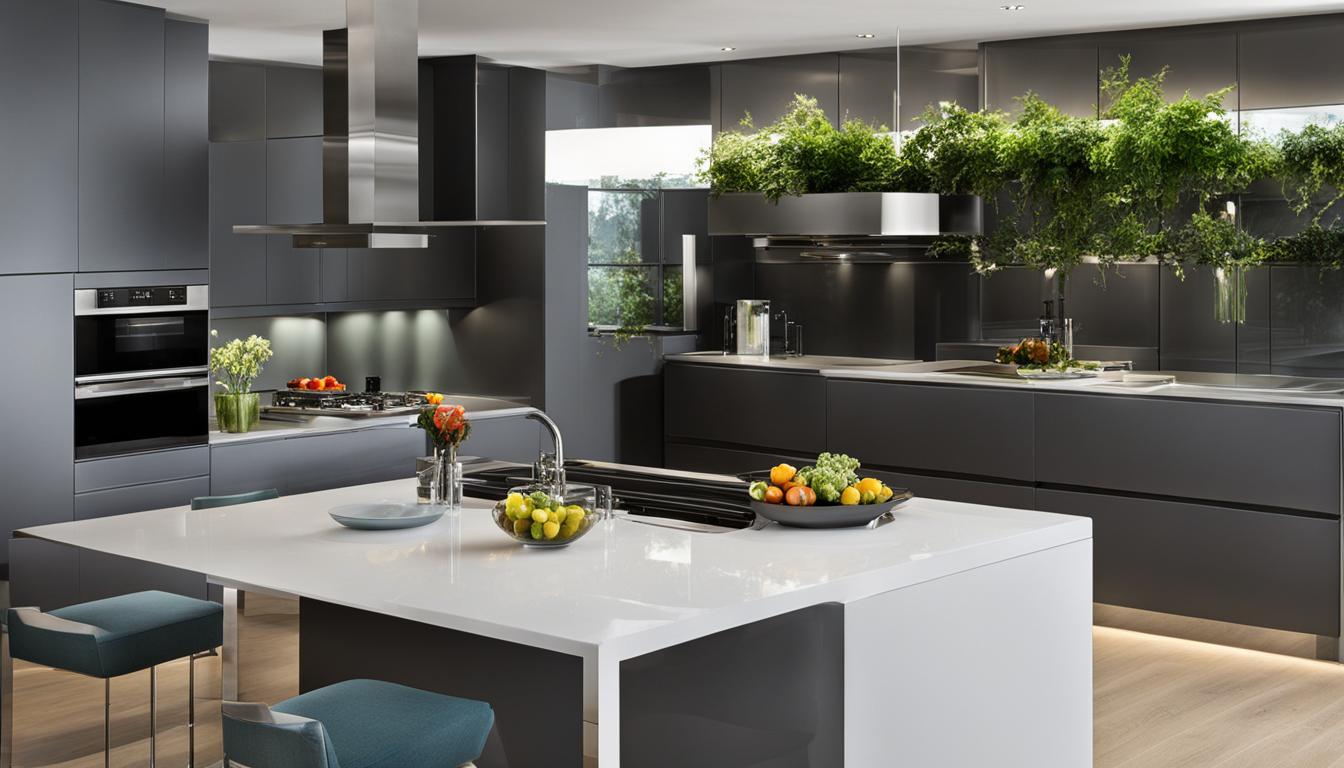
Painting unfinished kitchen cabinets is a beautiful way to personalize your kitchen and achieve a professional appearance. With the proper techniques and materials, you can transform your cabinets into a stunning focal point that enhances your kitchen space’s overall look and feel.
This guide will share my expert tips and step-by-step instructions to help you confidently paint your unfinished kitchen cabinets and achieve excellent results.
Before we dive into the details, here are a few essential key takeaways:
- Painting unfinished kitchen cabinets allows for customization and a professional look.
- Proper preparation is crucial for achieving a flawless finish.
- The right supplies, including quality paint and brushes, are essential for the best results.
- Adding finishing touches can elevate the appearance of your painted cabinets.
- Regular maintenance and care help preserve the beauty of your cabinets for years to come.
Contents
- 1 Supplies Needed for Painting Unfinished Cabinets
- 2 Steps to Prepare Unfinished Cabinets for Painting
- 3 Tips for Achieving a Professional Finish
- 4 Conclusion
- 5 FAQ
- 5.1 Can I paint unfinished kitchen cabinets?
- 5.2 What supplies do I need for painting unfinished cabinets?
- 5.3 How do I prepare unfinished cabinets for painting?
- 5.4 What are some tips for achieving a professional finish when painting unfinished cabinets?
- 5.5 How can I add finishing touches to my painted cabinets?
- 5.6 How do I maintain and care for painted cabinets?
- 5.7 Why should I paint my unfinished kitchen cabinets?
- 6 Source Links
Supplies Needed for Painting Unfinished Cabinets
Gathering all the necessary supplies before you start painting your unfinished cabinets is essential. Here are the supplies you’ll need for this project:
- High-quality paint: Choose the best paint for kitchen cabinets to ensure a durable and long-lasting finish. Look for paints formulated explicitly for cabinets and consider options with low VOC (volatile organic compounds) for a more eco-friendly choice.
- Paintbrushes: Invest in high-quality brushes specifically designed for painting cabinets. Look for brushes with synthetic bristles, providing smoother and more even coverage.
- Roller and tray: A small roller and tray set helps paint more significant areas of the cabinets, such as the sides and interior.
- Sanding materials: Prepare the surface of the cabinets by sanding them lightly. Use sandpaper or a sanding block with medium grit (around 120-150) to smooth out any imperfections and create a rough surface for the paint to adhere to.
- Primer: Applying a primer is essential for creating a smooth and even base coat. Choose a primer specifically formulated for use on cabinets.
- Tack cloth: A tack cloth removes dust and debris from the cabinets after sanding. It ensures a clean surface for painting.
- Painter’s tape: Use painter’s tape to protect any areas of the cabinets you don’t want to paint, such as hinges, handles, and glass inserts.
- Drop cloths or plastic sheets: Cover your countertops and floor with drop cloths or plastic sheets to protect them from paint spills and splatters.
- Optional: Paint sprayer: If you have experience using a paint sprayer, it can provide a smooth and professional finish. This is especially useful for larger projects or painting multiple cabinets.
Steps to Prepare Unfinished Cabinets for Painting
Before you can begin painting your unfinished cabinets, preparing them properly is crucial. Taking the time to prepare the cabinets will ensure that the paint adheres well and that you achieve a smooth and professional-looking finish.
Clean the Cabinets
Start by thoroughly cleaning the cabinets to remove dirt, grease, or grime. Use a mild detergent and warm water to scrub the surfaces, paying attention to all nooks and corners. Rinse with clean water and allow the cabinets to dry completely before proceeding.
Remove Hardware and Doors
To make the painting process easier, remove all hardware, including handles, knobs, and hinges, from the cabinets. Removing the cabinet doors, if possible, is also a good idea. This will allow you to paint the cabinets more smoothly and ensure no missing hardware or edges.
Repair and Sand Imperfections
Inspect the cabinets for imperfections, such as scratches, dents, or holes. Use wood filler to fill in any gaps or blemishes, and sand the surface lightly once the filler is dry. This will create a smooth and even base for the paint.
Primer Application
Applying a primer is essential for ensuring a durable and long-lasting finish. Use a high-quality primer specifically designed for kitchen cabinets. Apply the primer evenly using a brush or roller, following the manufacturer’s instructions. Allow the primer to dry thoroughly before moving on to the next step.
Light Sanding
After the primer has dried, lightly sand the cabinets with a fine-grit sandpaper. This step will help smooth out imperfections and ensure the paint adheres well to the surface. Be sure to clean off any dust from sanding before proceeding to the final step of painting.
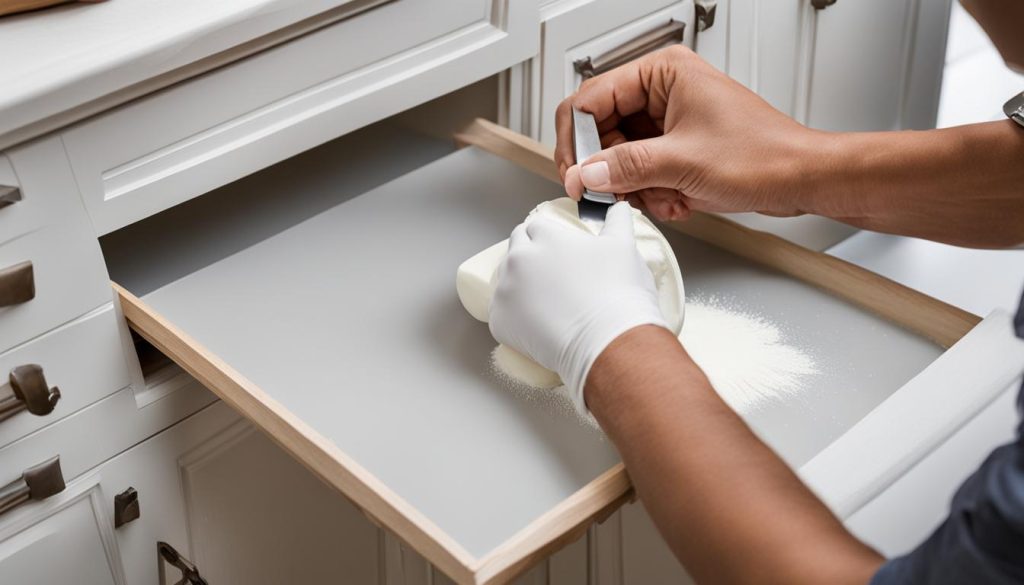
Pouring Paint on Tray
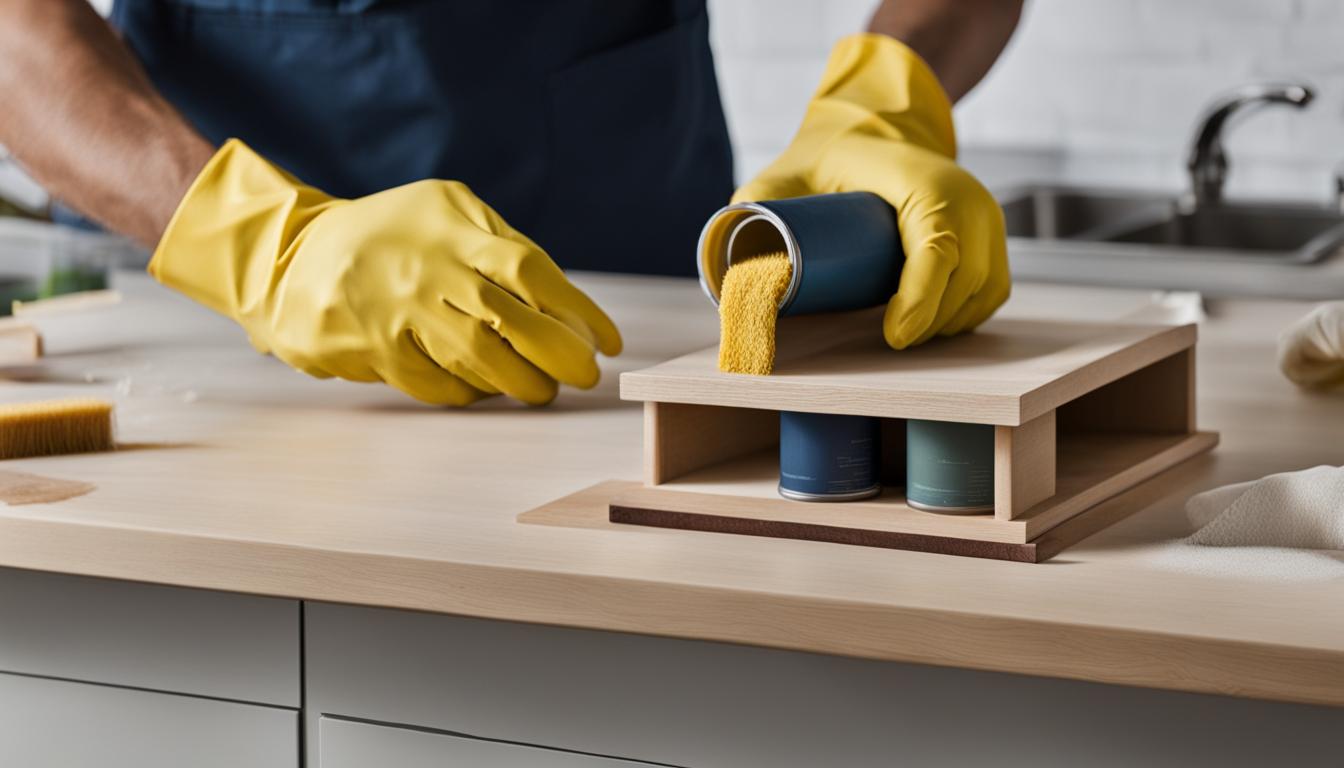
Once the cabinets are cleaned, repaired, primed, and sanded, you can start painting. Pour the paint of your choice into a tray, ensuring it is large enough to accommodate your roller or brush.
Applying the Paint
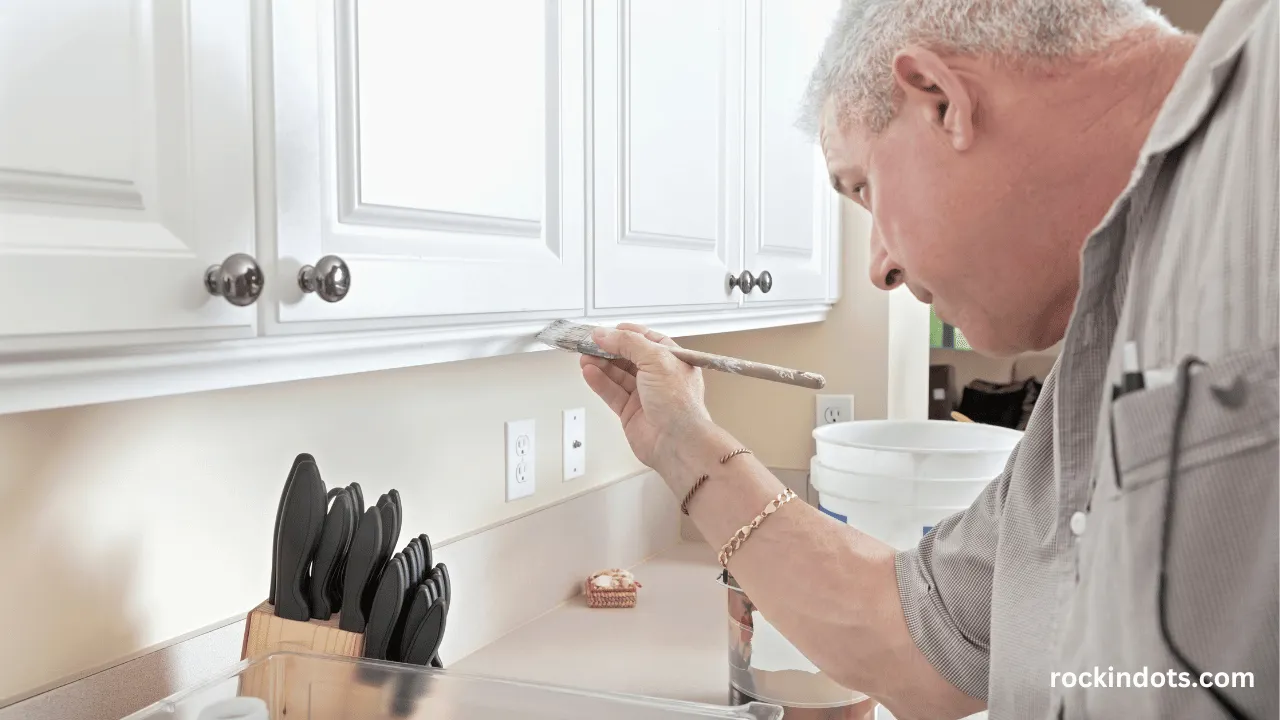
Apply the paint to the cabinets in smooth and even strokes using a high-quality brush or roller. Start by painting the recessed or hard-to-reach areas with a brush, then use a roller to paint the more significant, flat surfaces. Apply multiple thin coats rather than a thick coat for the best results.
Now, you’re ready to bring your kitchen cabinets to life with a fresh coat of paint. Follow these steps, and you’ll have beautifully finished cabinets that add a touch of elegance and style to your kitchen.
Tips for Achieving a Professional Finish
When painting unfinished cabinets, attention to detail is critical to achieving a professional finish. With these tips, you can transform your kitchen cabinets into a stunning focal point:
1. Prep and Clean
Before you start painting, prepare your cabinets properly and correctly. Remove all hardware and clean the surfaces thoroughly using a gentle cleanser. This will ensure the paint adheres well and gives you a smooth and pristine finish.
2. Sand and Fill
Smooth out any imperfections on the cabinet surfaces by sanding them lightly. This step helps the paint to adhere better and creates a flawless finish. Fill any cracks, holes, or dents with wood filler, and sand them once dry to create a seamless surface.
3. Use High-Quality Brushes or Rollers
The tools you use can significantly affect the outcome of your painting project. Invest in high-quality brushes or rollers that are designed explicitly for painting cabinets. These tools will give you better control and a more professional-looking finish.
4. Prime the Cabinets
Priming is an essential step in ensuring a long-lasting and durable finish. Choose a high-quality primer suitable for the type of paint and material of your cabinets. Apply a thin and even coat of primer to create a solid base for the paint to adhere to.
5. Apply Thin and Even Coats
When applying the paint, avoiding thick or uneven coats is essential. This can lead to drips, brush marks, or a rough finish. Instead, spread thin and even coats, allowing each coat to dry completely before applying the next one.
| Care Tips | Benefits |
|---|---|
| Use gentle cleaning solutions | Preserves the paint finish and prevents damage |
| Wipe spills immediately | Prevents stains and maintains the appearance of the cabinets |
| Avoid excessive moisture | Protects the paint from bubbling or peeling |
| Handle with care | Prevents scratches or chipping of the paint |
| Apply touch-ups as needed | It keeps the cabinets looking fresh and seamless |
Conclusion
Painting unfinished kitchen cabinets is a cost-effective and creative way to bring new life to your kitchen space. You can achieve a personalized and professional-looking kitchen cabinet makeover by following the steps and tips outlined in this guide.
You can transform your cabinets into a stunning focal point with the right techniques, such as proper preparation and choosing the best paint for kitchen cabinets. Whether you prefer a sleek and modern look or a rustic and charming vibe, painting kitchen cabinets allows you to customize your kitchen to match your style.
Remember to take good care of your painted cabinets to ensure they last for years. Regular maintenance and cleaning, using gentle cleaning products, will help preserve their beauty and protect the paint finish.
By following these maintenance and care tips, you can enjoy the stunning results of your kitchen cabinet makeover for a long time.
So, what are you waiting for? Let your creativity flow and embark on your kitchen cabinet painting project today. Transform your outdated or unfinished cabinets into a beautiful and inviting space you’ll love spending time in. Get ready to enjoy the fantastic results of your kitchen cabinet makeover!
FAQ
Can I paint unfinished kitchen cabinets?
You can paint unfinished kitchen cabinets for a customized and professional look.
What supplies do I need for painting unfinished cabinets?
You’ll need primer, paint, paintbrushes or rollers, sandpaper, drop cloths, painter’s tape, and a clean cloth.
How do I prepare unfinished cabinets for painting?
To prepare your cabinets, clean them thoroughly, remove the hardware and doors, sand the surfaces, and apply a primer.
What are some tips for achieving a professional finish when painting unfinished cabinets?
Some tips for achieving a professional finish include applying thin coats of paint, using a high-quality paintbrush or roller, and allowing each coat to dry completely before applying the next one.
How can I add finishing touches to my painted cabinets?
You can add finishing touches to your painted cabinets by replacing the hardware, adding decorative trim, or applying a glaze or distressing technique for a unique look.
How do I maintain and care for painted cabinets?
To keep your painted cabinets looking their best, avoid using harsh cleaning products, wipe up spills promptly, and clean them regularly with a mild soap and water solution.
Why should I paint my unfinished kitchen cabinets?
Painting unfinished kitchen cabinets is a cost-effective way to customize your kitchen and achieve a professional look without the expense of replacing all your cabinets.

