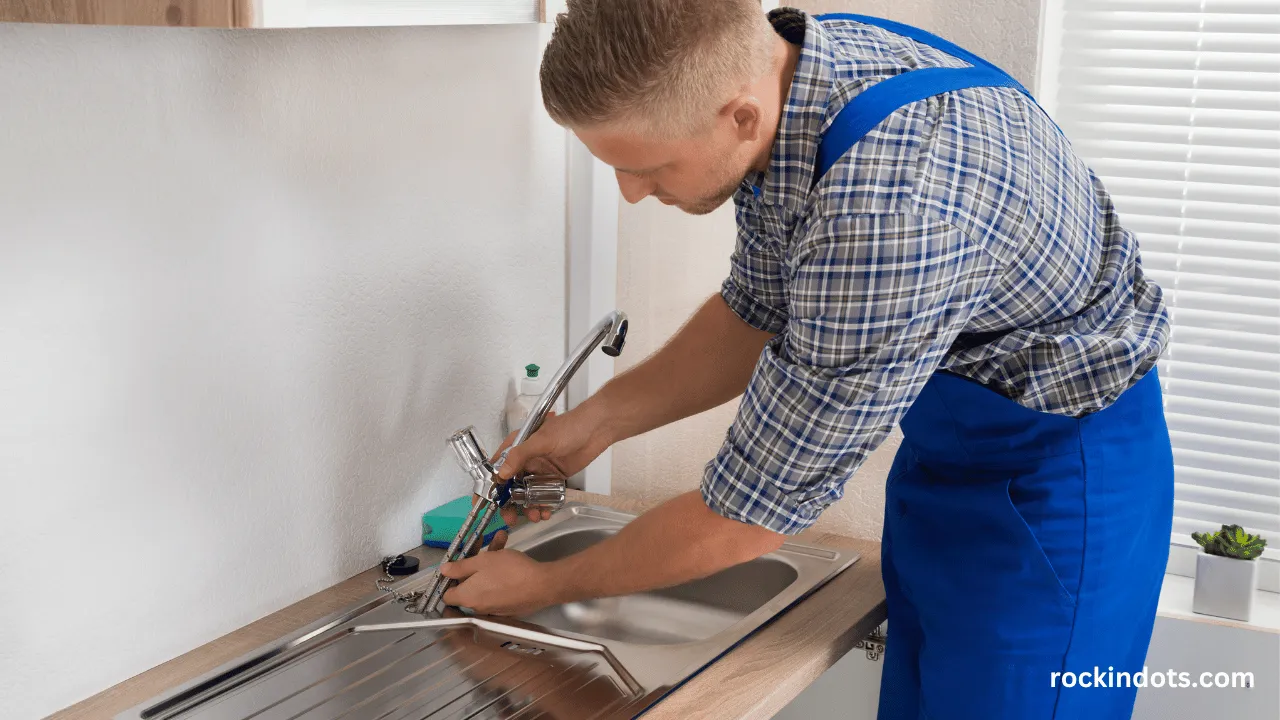
Greetings! Are you looking for a simple DIY project that can instantly update the look of your bathroom? Removing your old Moen bathroom faucet and replacing it with a new one is a fantastic way to achieve that.
In this accessible guide, I will walk you through the step-by-step process of removing your Moen bathroom faucet, ensuring a successful and hassle-free project.
Contents
Things You’ll Need to Remove Moen Bathroom Faucet
Before getting started, gather the following tools and materials:
- Adjustable wrench
- Screwdriver
- Plumber’s putty or silicone sealant
- Towels or rags
- Bucket or basin
- Replacement faucet (if necessary)
Steps to Remove Moen Bathroom Faucet
Follow these simple steps to remove your Moen bathroom faucet:
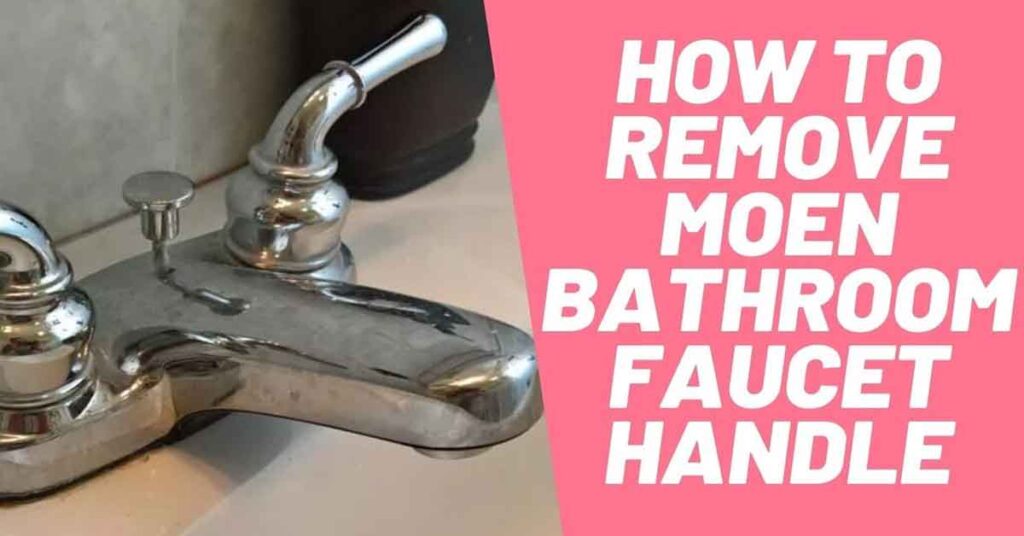
- Turn Off the Water Supply: Locate the shut-off valves under the sink and turn them clockwise to shut off the water supply.
- Disconnect the Water Lines: Use an adjustable wrench to loosen the nuts connecting the water supply lines to the faucet. Place a bucket or basin under the connections to catch any water that may drip out.
- Remove the Drain Stopper: If your faucet has a pop-up drain stopper, unscrew the nut connecting it to the drain tailpiece and remove the stopper.
- Loosen the Mounting Nuts: Locate the mounting nuts securing the faucet to the sink and use an adjustable wrench to loosen them. Depending on the model, there may be one or two nuts to remove.
- Disconnect the Faucet: Once the mounting nuts are loose, carefully lift the faucet away from the sink. If the faucet is stuck, gently wiggle it back and forth while lifting to loosen it from the sink surface.
- Clean the Sink Surface: Use a rag or towel to wipe away any residue or debris from the sink surface.
- Inspect for Damage: Take this opportunity to inspect the faucet and sink for any signs of damage or wear that may require repair or replacement.
Video Guide: How to Remove a Moen Bathroom Faucet
For a visual demonstration of the removal process, watch the following video guide:
Related Resources and Additional Tips
For more troubleshooting advice, contact Moen Customer Support on the manufacturer’s website. However, if you have any difficulty during the removal process, be sure to contact a professional.
Conclusion
With the appropriate tools and a bit of patience, it is possible to remove a Moenaucity faucet in a DIY manner. Following the steps in this guide, you can safely take apart your old faucet and prepare for a new installation or necessary maintenance.
FAQs
- Can I remove a Moen bathroom faucet without any prior experience? While prior experience can be helpful, removing a Moen bathroom faucet is a relatively straightforward process that can be completed by DIY enthusiasts with basic tools and knowledge.
- Are there any common mistakes to avoid when removing a Moen bathroom faucet? Common mistakes include failing to turn off the water supply, using excessive force when loosening nuts, and neglecting to clean the sink surface before installing a new faucet.
- How often should I replace my Moen bathroom faucet? The lifespan of a Moen bathroom faucet can vary depending on usage and maintenance. Generally, faucets should be replaced every 10-15 years or if they begin to show signs of wear or damage.
- Is it necessary to turn off the water supply before removing the faucet? Yes, it is essential to turn off the water supply before removing a faucet to avoid accidental flooding or water damage.
- Can I reinstall the same faucet after removing it for cleaning or repair? Yes, in most cases, you can reinstall the same faucet after cleaning or repair. However, it’s essential to inspect the faucet and sink for any damage or wear that may require replacement parts or professional assistance.

